
Blog Details
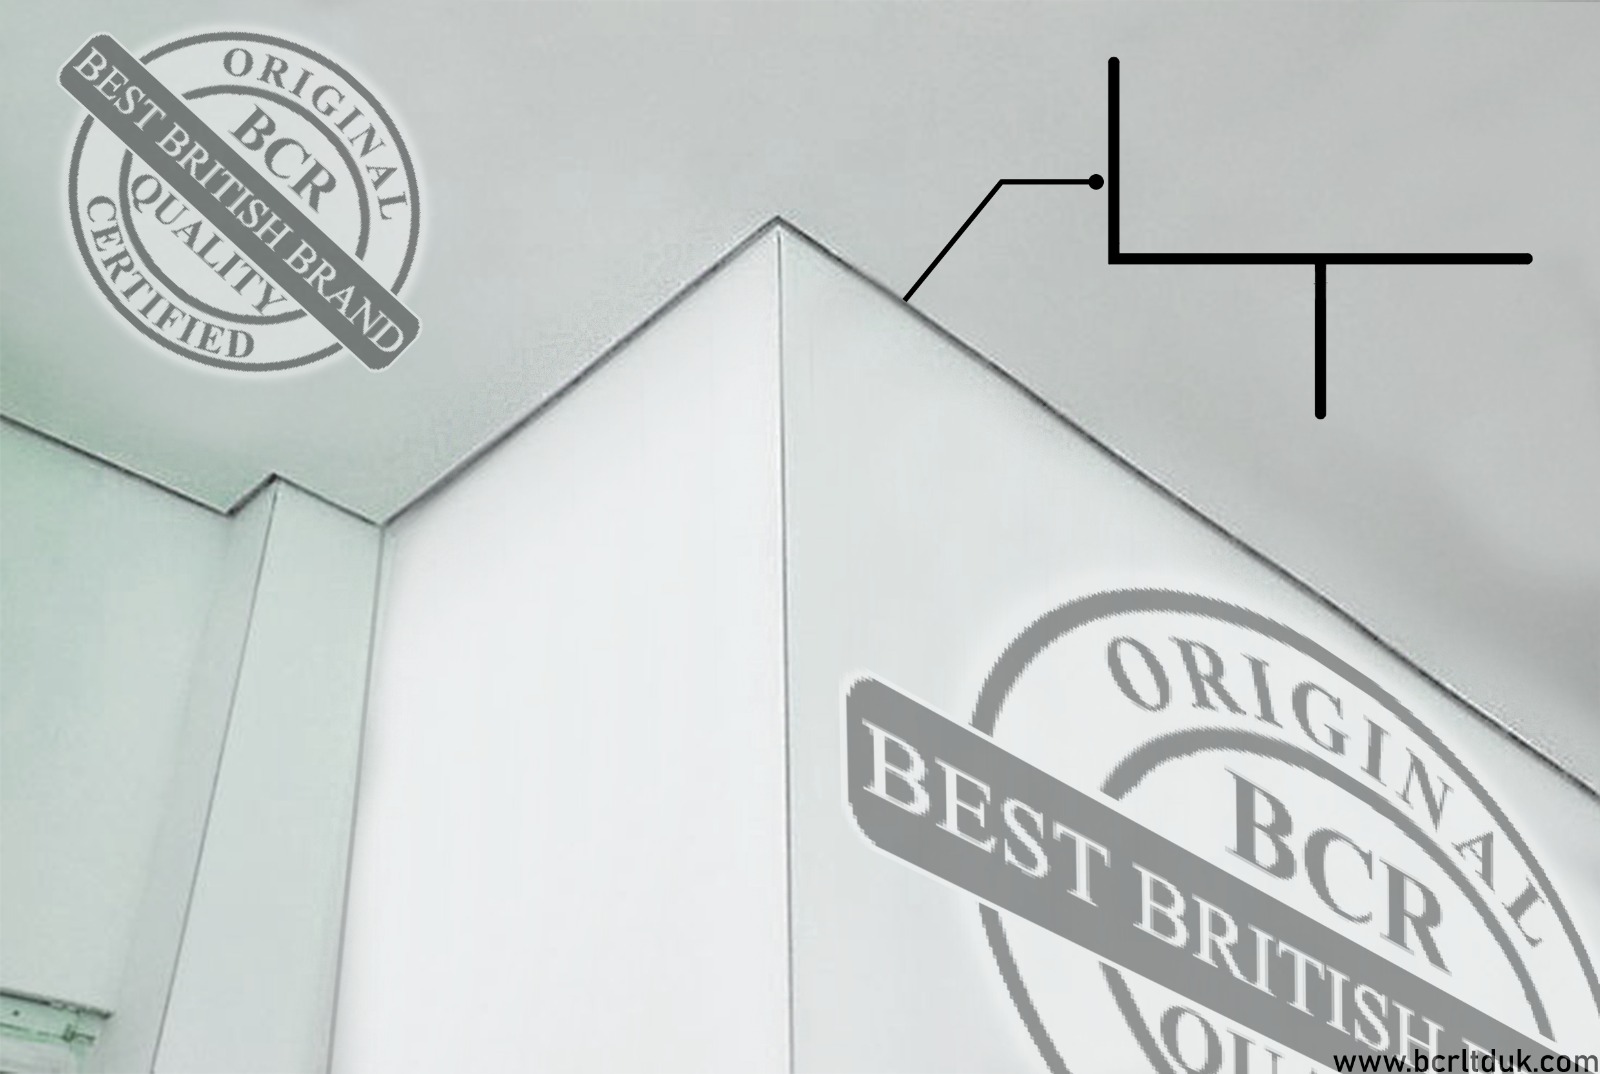
FIXING PROCEDURE AND DETAILS OF SHADOW GAP PROFILES / SKIRTING, SHADOW GAP CEILING PROFILE, SHADOW GAP WALL, FLOATING WALL PROFILE, HIDDEN SKIRTING SHADOW
Blog Post:
Title: How to Install BCR Aluminium Shadow Gap Skirting Profile: Step-by-Step Guide
Meta Description: Learn how to install BCR aluminium shadow gap skirting profile with this comprehensive step-by-step guide. Discover the tools, materials, and techniques required for a successful DIY installation.
Introduction:
Skirting profiles not only provide an aesthetic finish to your walls but also protect them from damage. One popular choice is the BCR aluminium shadow gap skirting profile, which adds a contemporary touch to any room. In this guide, we'll walk you through the process of installing the BCR aluminium shadow gap skirting profile, allowing you to enhance the look of your space with a professional touch.
Tools and Materials Needed:
To successfully install the BCR aluminium shadow gap skirting profile, gather the following tools and materials:
Tools:
- Tape measure
- Pencil
- Miter saw or coping saw
- Utility knife
- Caulking gun
- Sandpaper
- Paintbrush
Materials:
- BCR aluminium shadow gap skirting profile
- Construction adhesive or adhesive tape
- Finishing nails
- Wood filler or caulk
Preparing the Area:
A. Measuring and Marking:
Start by measuring the perimeter of the room where you plan to install the BCR aluminium shadow gap skirting profile. Use a tape measure to determine the length of each wall and make note of these measurements. Next, mark the height where you want the skirting profile to sit, ensuring it is level throughout.
B. Removing Existing Skirting Boards:
If there are existing skirting boards, carefully remove them using a pry bar or a chisel. Take caution not to damage the walls during this process. Once removed, ensure the wall surface is clean and free from any debris.
Installing the BCR Aluminium Shadow Gap Skirting Profile:
A. Cutting the Profiles:
Measure and mark the BCR aluminium shadow gap skirting profile according to the wall measurements taken earlier. Use a miter saw or coping saw to make accurate cuts at 45-degree angles for the corners. For straight edges, cut the profiles to the desired length using a miter saw or a utility knife.
B. Applying Adhesive:
Apply construction adhesive or use adhesive tape to the back of the BCR aluminium shadow gap skirting profile. Ensure the adhesive is evenly distributed along the length of the profile.
C. Attaching the Profiles:
Carefully press the BCR aluminium shadow gap skirting profile onto the marked area of the wall, aligning it with the desired height. Press firmly to ensure a secure bond with the wall. Repeat this step for each wall.
D. Filling and Finishing:
Once the profiles are installed, fill any gaps or nail holes with wood filler or caulk. Smooth the filler using a putty knife and sand it down once dry. If desired, paint or stain the BCR aluminium shadow gap skirting profile to match your room's decor.
Tips and Common Mistakes to Avoid:
- Always wear protective eyewear and gloves when working with tools and materials.
- Double-check your measurements and ensure the skirting profiles are cut accurately for a seamless installation.
- Use a level to ensure the profiles are installed straight and level throughout.
- Be mindful of electrical wiring or plumbing behind the walls before nailing or cutting into them.
- Apply adhesive or adhesive tape evenly to ensure a secure bond between the profiles and the wall.
- Smooth the filler or caulk for a professional, seamless finish.
Conclusion:
By following this step-by-step guide, you can successfully install the BCR aluminium shadow gap skirting profile and transform the look of your space. Remember to take accurate measurements, use the right tools, and follow safety precautions throughout the installation process. Enjoy the contemporary